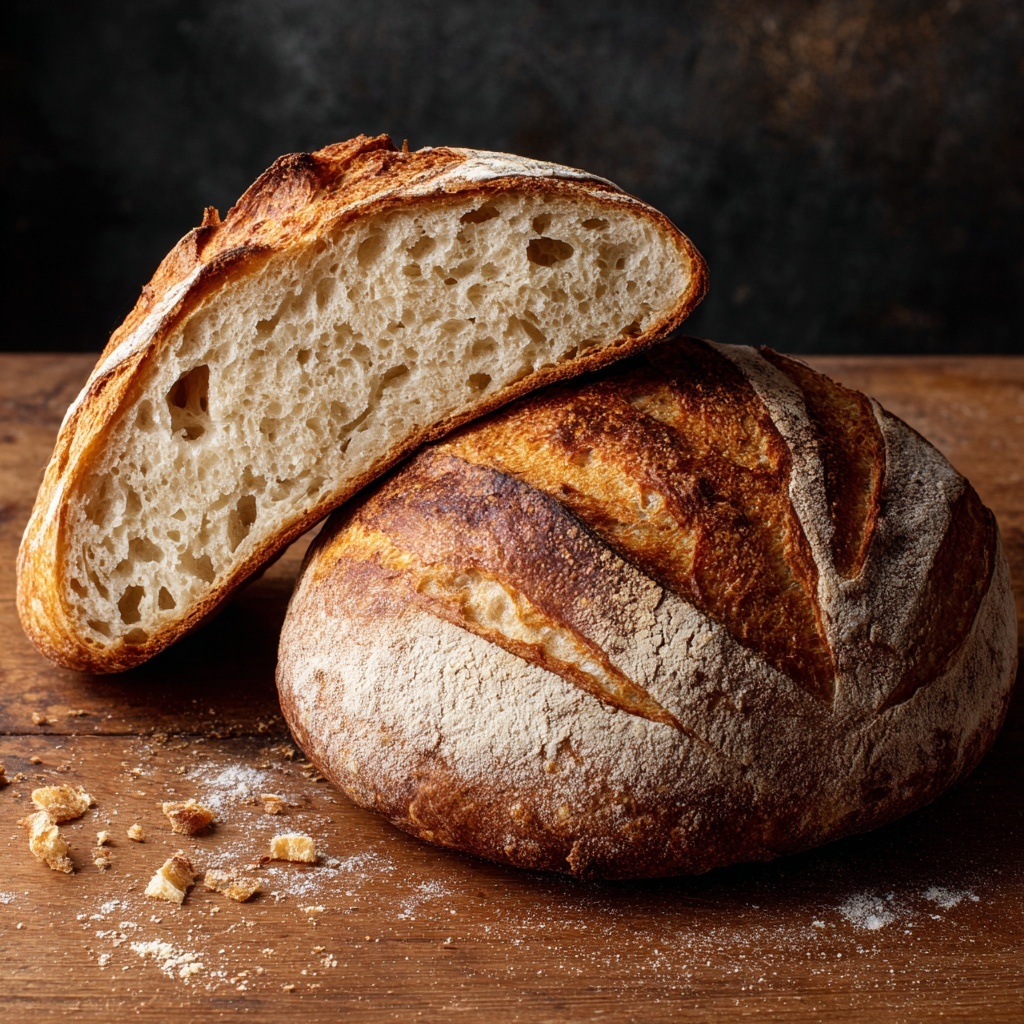
If you’ve ever wished for a warm slice of comfort straight from an Irish kitchen, then you’re in for a treat with Grandma’s Irish Soda Bread Recipe. This charmingly simple yet deeply satisfying bread combines a handful of humble ingredients to create a wonderfully crusty loaf with a tender crumb. The magic lies in how the baking soda interacts with buttermilk, giving the bread its signature rise without any yeast fuss. Whether you’re gathering for a cozy breakfast or a relaxed afternoon with tea, this recipe brings a hearty touch of tradition and nostalgia to your table.
Ingredients You’ll Need
To whip up Grandma’s Irish Soda Bread Recipe, you only need a handful of pantry staples and a few extras that bring out the classic flavors and texture. Each component plays a starring role, from the tangy buttermilk that gives a lovely rise and tender crumb to the bursts of sweetness from plump raisins, making this bread irresistibly charming.
- 4 cups all-purpose flour: The backbone of the bread, providing structure and a pleasant chew.
- 1 teaspoon baking soda: Acts as a natural leavening agent, giving the bread its characteristic lift.
- 1 teaspoon salt: Enhances all the flavors and balances the sweetness perfectly.
- 1/4 cup granulated sugar: Adds just the right touch of sweetness to complement the raisins.
- 4 tablespoons unsalted butter (cold and cubed): Introduces richness and creates a tender crumb.
- 1 3/4 cups buttermilk: Brings moisture and reacts with baking soda to help the bread rise.
- 1 large egg: Adds stability and a beautiful golden color to the crust.
- 1 cup raisins or currants: Offer juicy little bursts of sweetness in every bite.
- 1 tablespoon caraway seeds (optional): Gives a lovely subtle bite and aromatic flair.
How to Make Grandma’s Irish Soda Bread Recipe
Step 1: Prepare Your Oven and Pan
Start by preheating your oven to 375°F (190°C). Lightly grease a cast iron skillet or a baking sheet to prevent sticking and give your bread a gorgeous golden crust.
Step 2: Mix the Dry Ingredients
In a large mixing bowl, whisk together the flour, baking soda, salt, and sugar. This simple blend is your base, and mixing well ensures the leavening is evenly distributed throughout the dough.
Step 3: Cut in the Butter
Add the cold, cubed butter and use a pastry cutter or just your fingertips to cut it into the dry ingredients until the mixture resembles coarse crumbs. The bits of butter create flakiness as they melt during baking, so don’t rush this step.
Step 4: Add the Raisins and Caraway Seeds
Stir in the raisins and caraway seeds (if you’re using them). These ingredients lend delightful flavor and texture, making Grandma’s Irish Soda Bread Recipe truly special.
Step 5: Mix the Wet Ingredients and Combine
In a small bowl, whisk the buttermilk with the egg until smooth. Pour this mixture into the flour mixture, stirring gently just until combined. The dough will be sticky, which is perfect – this means you won’t end up with a tough bread.
Step 6: Knead and Shape
Turn the sticky dough out onto a lightly floured surface and knead gently about 8 to 10 times just to bring it together. Shape the dough into a round loaf and place it on your prepared baking surface. Using a sharp knife, cut a deep “X” across the top—this not only helps the bread bake evenly but also honors a lovely Irish tradition.
Step 7: Bake Until Golden
Bake for 40 to 45 minutes until the bread turns a deep golden brown and a toothpick inserted into the center comes out clean. The aromatic scent that fills your kitchen at this point is simply unbeatable.
Step 8: Cool Before Slicing
Allow the bread to cool on a wire rack before slicing. This brief wait ensures the crumb sets perfectly and each slice holds together beautifully.
How to Serve Grandma’s Irish Soda Bread Recipe

Garnishes
Grandma’s Irish Soda Bread Recipe is wonderful served warm with a generous slather of butter that melts into all those nooks and crannies. For an extra touch, try a bit of honey or your favorite fruit preserves to balance the bread’s gentle sweetness.
Side Dishes
This bread pairs wonderfully with hearty soups, stews, or a pot of Irish stew for a true Celtic feast. It’s also brilliant alongside smoked salmon, sharp cheddar, or soft cheeses for a comforting snack or light meal.
Creative Ways to Present
For special occasions, slice the bread into thick wedges and arrange on a rustic wooden board topped with fresh herbs and small bowls of butter and jam. You can even toast the slices lightly and use them as a base for open-faced sandwiches or crostinis.
Make Ahead and Storage
Storing Leftovers
Wrap your soda bread tightly in foil or plastic wrap and store at room temperature for up to two days. This keeps the crust from going too hard while maintaining a soft crumb inside.
Freezing
If you want to enjoy Grandma’s Irish Soda Bread Recipe later, slice the loaf and freeze the slices in an airtight bag. This way, you can take out just what you need and avoid waste.
Reheating
To bring back that fresh-baked warmth, toast slices directly from the freezer or reheat the whole loaf in an oven preheated to 350°F (175°C) for about 10 minutes. A quick warming elevates the flavors and refreshes the texture beautifully.
FAQs
Can I make this bread without buttermilk?
Absolutely! If you don’t have buttermilk on hand, mix 1 3/4 cups of milk with 1 tablespoon of lemon juice or vinegar and let it sit for 5 minutes to curdle before using. This homemade substitute works just as well in Grandma’s Irish Soda Bread Recipe.
Why do I need to cut an “X” on top of the dough?
The “X” helps the bread cook evenly by allowing heat to penetrate the thickest part, preventing underbaked spots. It’s also a charming tradition said to ward off evil spirits or bless the bread for sharing.
Can I leave out the raisins or use another dried fruit?
Yes! While raisins or currants are classic, feel free to swap with dried cranberries, chopped dates, or even omit them altogether if you prefer a plainer loaf. Each variation still honors Grandma’s Irish Soda Bread Recipe but tweaks the flavor to your liking.
Is this bread suitable for vegetarians?
Definitely. This bread contains no meat or animal-derived gelatin, making it a great vegetarian-friendly option. Just be sure any added spreads or sides also align with your dietary preferences.
How long does the bread stay fresh?
When stored properly at room temperature, this bread stays fresh and delicious for about 2 to 3 days. Beyond that, it’s best enjoyed toasted or reheated to bring back its delightful texture.
Final Thoughts
There’s something truly heartwarming about baking and sharing Grandma’s Irish Soda Bread Recipe. The blend of simple, wholesome ingredients combined with that signature tangy buttermilk flavor makes it a timeless treasure in any kitchen. I hope you give this recipe a try and experience the cozy pride of pulling a golden, fragrant loaf fresh from your own oven.
Print
Grandma’s Irish Soda Bread Recipe
- Prep Time: 15 minutes
- Cook Time: 45 minutes
- Total Time: 1 hour
- Yield: 8 servings
- Category: Bread
- Method: Baking
- Cuisine: Irish
- Diet: Vegetarian
Description
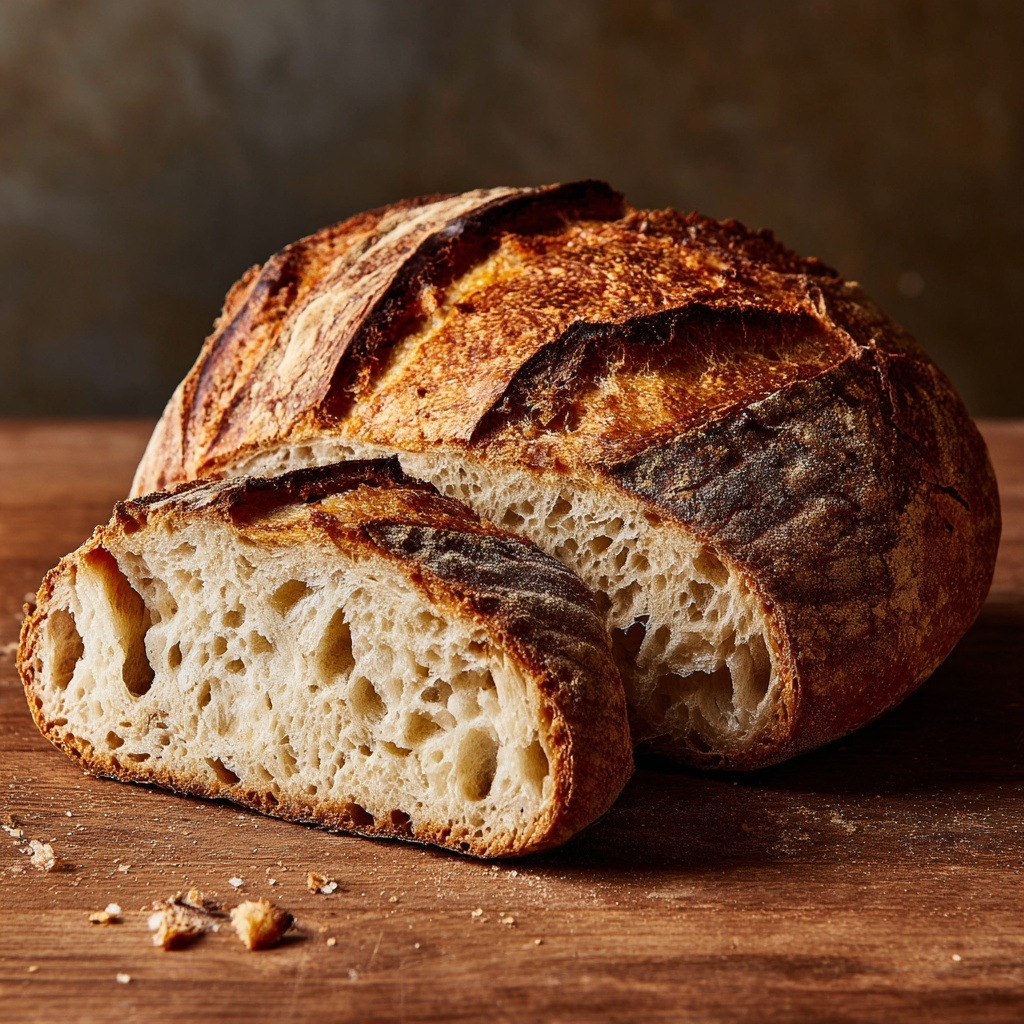
Grandma’s Irish Soda Bread is a classic, quick bread that’s easy to make and perfect for any occasion. Featuring a tender crumb with a slight sweetness from raisins or currants and a hint of caraway seeds, this traditional Irish bread requires no yeast and uses baking soda as the leavening agent. Perfect when served warm with butter and jam, it’s a comforting treat steeped in heritage and flavor.
Ingredients
Dry Ingredients
- 4 cups all-purpose flour
- 1 teaspoon baking soda
- 1 teaspoon salt
- 1/4 cup granulated sugar
- 1 tablespoon caraway seeds (optional)
Wet Ingredients
- 4 tablespoons unsalted butter, cold and cut into small cubes
- 1 3/4 cups buttermilk
- 1 large egg
Add-ins
- 1 cup raisins or currants
Instructions
- Preheat Oven and Prepare Pan: Preheat the oven to 375°F (190°C) and lightly grease a cast iron skillet or baking sheet to ensure the bread doesn’t stick.
- Mix Dry Ingredients: In a large mixing bowl, whisk together the flour, baking soda, salt, and sugar until evenly combined.
- Incorporate Butter: Cut the cold butter into the dry ingredients using a pastry cutter or your fingertips until the mixture resembles coarse crumbs, which helps to create a tender texture.
- Add Raisins and Seeds: Stir in the raisins or currants along with caraway seeds if using, evenly distributing them through the flour mixture.
- Combine Wet Ingredients: In a small bowl, whisk together the buttermilk and egg until smooth, then pour this into the dry mixture.
- Form the Dough: Stir the mixture just until combined; the dough will be sticky. Transfer it onto a lightly floured surface and gently knead 8–10 times until the dough holds together.
- Shape the Loaf: Shape the dough into a round loaf and place it on the prepared skillet or baking sheet. Using a sharp knife, cut a deep “X” across the top to help the bread bake evenly.
- Bake: Bake in the preheated oven for 40–45 minutes, or until the loaf is golden brown and a toothpick inserted in the center comes out clean, indicating it is cooked through.
- Cool and Serve: Remove from the oven and allow to cool on a wire rack before slicing. Best served warm with butter and jam for a delightful treat.
Notes
- To achieve a more tender loaf, avoid overmixing the dough after adding wet ingredients.
- If buttermilk is unavailable, substitute with 1 3/4 cups milk mixed with 1 tablespoon lemon juice or vinegar; let it sit for 5 minutes before using.
- This bread is best enjoyed warm, ideally with butter and your favorite jam.


