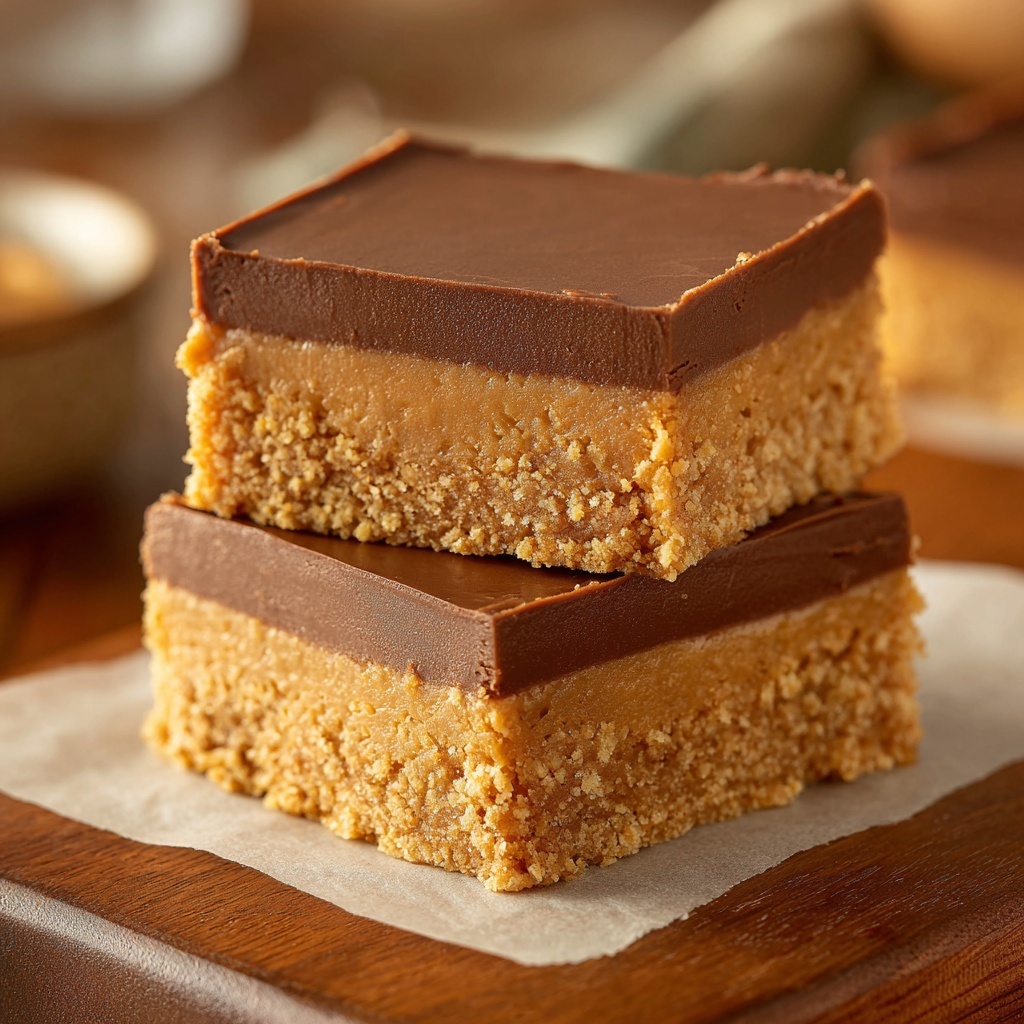
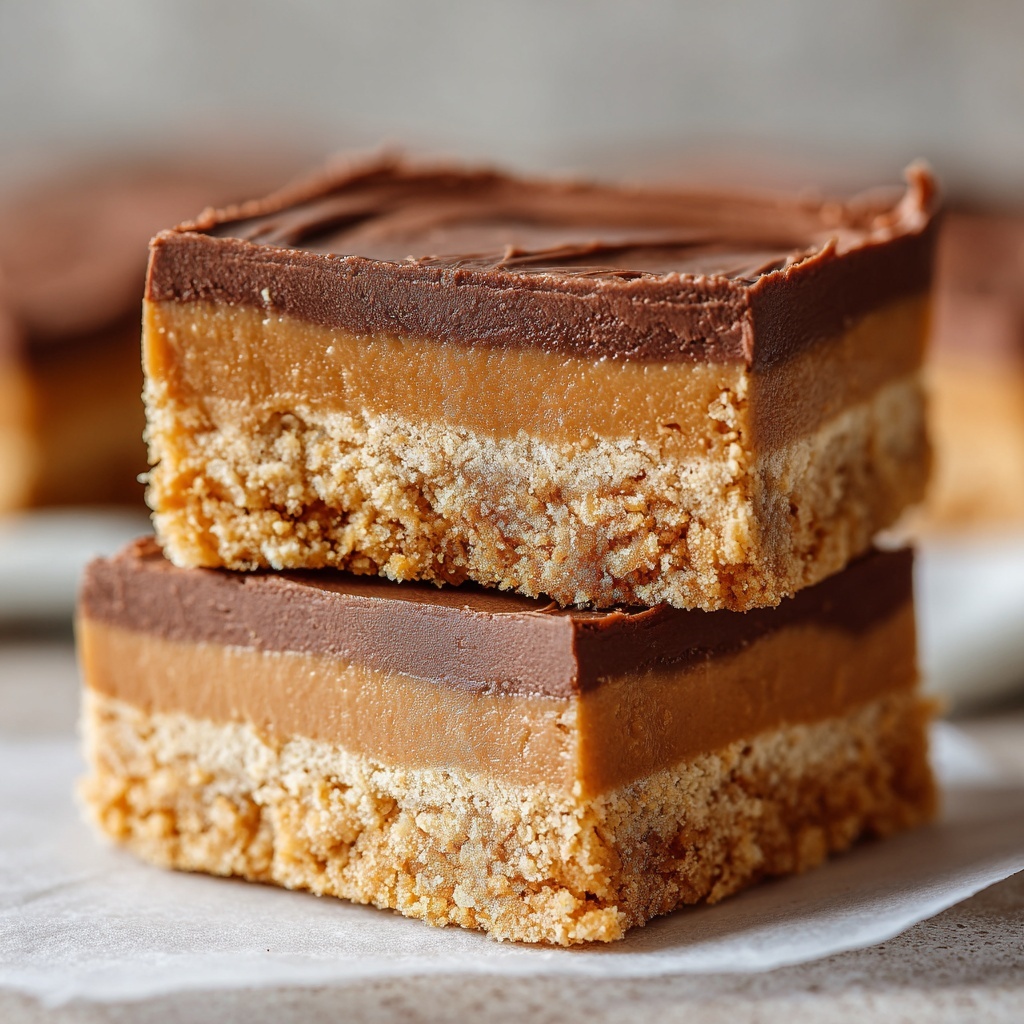
If you’ve ever wished to recreate a Disneyland classic right in your own kitchen, look no further than this Irresistible Disneyland’s Peanut Butter Sandwich Bars Recipe. These bars capture the perfect harmony of creamy peanut butter and luscious chocolate, layered on a crunchy, buttery graham cracker base. The result is a dreamy, no-bake dessert that is just as magical as the original treat. Trust me, once you make these bars, grabbing one will feel like a sweet trip to the happiest place on earth, without leaving home.
Ingredients You’ll Need
These ingredients are incredibly simple yet essential to bring that perfect balance of rich, crunchy, and sweet textures to your bars. Each one plays a vital role in crafting the iconic flavor and satisfying bite that makes these bars unforgettable.
- 1 cup creamy peanut butter: Provides that signature creamy, nutty base that ties everything together beautifully.
- 1 cup graham cracker crumbs: Adds a slightly sweet, crunchy texture to contrast the smooth layers.
- 1/2 cup unsalted butter (melted): Brings richness and helps bind the ingredients for a firm, sliceable base.
- 1 cup powdered sugar: Sweetens the peanut butter layer while keeping it light and not grainy.
- 1/2 teaspoon vanilla extract: Enhances the overall flavor with a hint of warmth and sweetness.
- 1 1/2 cups semi-sweet chocolate chips: Creates a glossy, decadent chocolate topping that perfectly complements the peanut butter.
- 1 tablespoon vegetable oil: Smooths the melted chocolate, giving it that perfect shine and silky texture.
How to Make Irresistible Disneyland’s Peanut Butter Sandwich Bars Recipe
Step 1: Mix the Peanut Butter Base
Combine the graham cracker crumbs, powdered sugar, melted butter, vanilla extract, and creamy peanut butter in a medium bowl. Stir everything together until you have a smooth, well-blended mixture. The texture should be thick enough to press firmly into your pan for a sturdy base, yet soft enough to spread evenly. This layer sets the scene with that perfectly balanced peanut butter flavor that makes these bars so addictive.
Step 2: Press the Base into the Pan
Line an 8×8-inch baking dish with parchment paper for easy removal later. Press the peanut butter mixture firmly and evenly across the bottom of the pan. This pressing step is key—it creates that satisfying chew and ensures your bars hold their shape when sliced. Don’t be shy about pressing firmly; you want a compact, even layer to support the chocolate topping.
Step 3: Prepare the Chocolate Topping
In a microwave-safe bowl, combine the semi-sweet chocolate chips and vegetable oil. Melt them together in 30-second intervals, stirring in between, until the chocolate is smooth and glossy. The vegetable oil gives the chocolate that beautiful shine and silkiness that makes these bars so visually stunning and delicious.
Step 4: Assemble and Chill
Pour the melted chocolate evenly over the peanut butter layer, spreading it out to cover the surface completely. This chocolate layer adds a rich, bittersweet contrast to the sweet peanut butter below, taking these bars to the next level. Refrigerate the entire dish for at least 2 hours—or until the chocolate has fully set—before slicing into bars. Chilling helps the bars develop structure for clean, satisfying slices.
How to Serve Irresistible Disneyland’s Peanut Butter Sandwich Bars Recipe

Garnishes
Sprinkle a few sea salt flakes on top of the chocolate before it sets for a delightful salty-sweet finish. If you like a bit of texture, crushed peanuts or mini chocolate chips add an inviting crunch and extra flavor dimension. A light dusting of powdered sugar can also turn these bars into a beautiful presentation for guests.
Side Dishes
These bars pair wonderfully with a simple scoop of vanilla ice cream or a dollop of whipped cream to complement their richness. For a fun twist, serve alongside fresh fruit like sliced strawberries or banana for a refreshing contrast. A warm cup of coffee or cold glass of milk can turn these bars into a perfect snack or dessert experience.
Creative Ways to Present
Try layering smaller squares in a gift box tied with a ribbon for an adorable homemade treat. You can also cut them into bite-sized squares to serve at parties, making them easy to grab and enjoy. For an impressive dessert platter, drizzle melted white chocolate artistically over the bars before slicing.
Make Ahead and Storage
Storing Leftovers
Keep any leftover bars in an airtight container in the refrigerator to maintain their freshness and texture. They hold up well for up to a week, making them perfect for quick snacks or dessert throughout the week.
Freezing
These bars freeze beautifully. Wrap each bar individually in plastic wrap and place them in a freezer-safe container or ziplock bag. Frozen bars will stay fresh for up to one month, so you can always have a little Disneyland magic on hand.
Reheating
There’s no need to heat these bars, as they are best enjoyed chilled or at room temperature. However, if you prefer a slightly softer texture, let them sit at room temperature for about 10 minutes before serving.
FAQs
Can I use crunchy peanut butter instead of creamy?
Absolutely! Using crunchy peanut butter will add an extra bit of texture and crunch to your bars, which some people love. Just keep in mind the bars might be a little less smooth but no less delicious.
Is it possible to make these bars gluten-free?
Yes, simply swap out the graham cracker crumbs for a gluten-free variety. Many store-bought gluten-free cracker crumbs work perfectly and won’t alter the taste much.
What chocolate works best for the topping?
Semi-sweet chocolate chips are classic and balanced, but you can use milk or dark chocolate depending on your preference. Just ensure it melts smoothly with the vegetable oil for that perfect shiny finish.
Can I add nuts or other mix-ins to the peanut butter layer?
Definitely! Adding about 1/4 cup of chopped peanuts or even a handful of mini chocolate chips can add extra texture and flavor, making the bars even more exciting.
How should I cut these bars for the best results?
Use a sharp knife and cut once the bars are fully chilled for the cleanest slices. Wiping the knife with a warm, damp cloth between cuts helps to keep edges neat and prevents sticking.
Final Thoughts
Enjoying the Irresistible Disneyland’s Peanut Butter Sandwich Bars Recipe at home is like weaving a bit of magic into your everyday dessert routine. They’re simple, satisfying, and incredibly delicious, making them a perfect treat to share with family or save as your own secret indulgence. Trust me, once you try these bars, they’ll become a fast favorite just like they are in the parks. So grab your ingredients, make a batch, and let the sweet memories begin!
Print
Irresistible Disneyland’s Peanut Butter Sandwich Bars Recipe
- Prep Time: 15 minutes
- Cook Time: 0 minutes
- Total Time: 2 hours 15 minutes
- Yield: 16 bars
- Category: Dessert, Snack
- Method: No-Cook
- Cuisine: American
- Diet: Vegetarian
Description
These Irresistible Disneyland’s Peanut Butter Sandwich Bars are a decadent no-bake treat featuring a smooth peanut butter base layered with rich, melted chocolate. Perfect as a snack or dessert, they capture the classic flavors of Disneyland’s famous bars with a simple, easy-to-make recipe that requires no oven time, just chilling.
Ingredients
Peanut Butter Base
- 1 cup creamy peanut butter
- 1 cup graham cracker crumbs
- 1/2 cup unsalted butter, melted
- 1 cup powdered sugar
- 1/2 teaspoon vanilla extract
Chocolate Topping
- 1 1/2 cups semi-sweet chocolate chips
- 1 tablespoon vegetable oil
Instructions
- Prepare the Peanut Butter Base: In a medium bowl, combine the graham cracker crumbs, powdered sugar, melted butter, vanilla extract, and creamy peanut butter. Mix thoroughly until the mixture is smooth and well blended.
- Press Mixture into Pan: Line an 8×8-inch baking dish with parchment paper. Press the peanut butter mixture evenly into the bottom of the prepared dish, creating a firm and uniform layer.
- Melt the Chocolate: In a microwave-safe bowl, melt the semi-sweet chocolate chips and vegetable oil together in 30-second intervals. Stir between each interval until the chocolate is fully melted and smooth.
- Pour Chocolate Over Base: Pour the melted chocolate over the peanut butter layer in the baking dish. Use a spatula to spread the chocolate evenly across the top.
- Chill to Set: Place the dish in the refrigerator and chill for at least 2 hours, or until the chocolate topping is set and firm.
- Slice and Serve: Once firm, remove from refrigerator and slice into 16 bars. Serve chilled or at room temperature for best flavor and texture.
Notes
- For a crunchier texture, add 1/4 cup chopped peanuts to the peanut butter mixture before pressing into the baking dish.
- These bars freeze well—store in an airtight container in the freezer for up to 1 month.
- To replicate the classic Disneyland flavor, use high-quality semi-sweet chocolate chips and smooth, sweetened peanut butter.
